Maximising Adhesion with Epoxy Coatings – TIps from IPS Paint Supplies
Key Takeaways
- Proper surface preparation is crucial for epoxy coating adhesion.
- Ideal temperature and humidity levels are essential for optimal curing.
- Accurate mixing ratios and thorough mixing are key for a successful epoxy resin mix.
- Using the right tools and techniques will result in a smooth and even application.
- Avoiding common pitfalls can save your project from unnecessary do-overs.

Preparation: Laying the Groundwork for Epoxy Applications
Before you even open that can of epoxy, make sure the surface you’re working on is ready to go. This isn’t just about wiping it down; you need to be thorough. Any contaminants like oil, grease, or dust can prevent the epoxy from sticking. So, roll up those sleeves and get cleaning.
Cleaning and Smoothing: The First Steps to Flawless Adhesion
Start by sweeping away any loose debris. Then, grab a cleaner that’s suitable for the surface you’re dealing with and scrub away any stubborn spots. Once it’s clean, it’s smoothing time. Sanding the surface creates tiny grooves for the epoxy to latch onto. Just remember to wipe away all that sanding dust when you’re done.
Prime Time: Why and How to Use Epoxy Primers
Now, let’s talk primers. Epoxy primers aren’t just an upsell; they’re your secret weapon for adhesion. They fill in any microscopic gaps and give the epoxy a uniform surface to bond with. Make sure the primer is fully compatible with your epoxy, and apply it as directed. This step can make or break your project.
Temperature and Environment: Ensuring Ideal Conditions for Epoxy Coating
Even the best-prepared surface won’t save you if the environment isn’t right. Temperature and humidity can mess with your epoxy’s curing time and final finish. Let’s make sure you’ve got the perfect conditions.
Setting the Scene: Optimal Temperature for Epoxy Curing
Epoxy likes it warm, but not too hot. The sweet spot is usually between 70-85°F. If it’s too cold, the epoxy will take forever to cure. Too hot, and it’ll set before you’re done smoothing it out. Use a thermometer to check the room’s temp before you start. For more detailed guidance, consider reading our ultimate guide to industrial epoxy floor coating.
Humidity and Airflow: The Invisible Factors in Epoxy Application
Humidity is epoxy’s sneaky enemy. If it’s too damp, you might end up with a cloudy finish. Aim for a humidity level below 60%. Airflow is also important – you want enough to keep the fumes at bay, but not so much that it causes the epoxy to cure unevenly. A gentle, consistent air movement is your goal.
Moving on to the mixing stage, this is where you can make or break your epoxy application. Epoxy resin and hardener need to be mixed in precise ratios to achieve the chemical reaction necessary for the coating to cure properly. The key here is to follow the manufacturer’s instructions to the letter. Don’t eyeball it – measure it. If the mix is off, you’ll end up with a coating that’s either too soft or won’t set at all.
Mixing Epoxy: A Recipe for Success
Imagine you’re a chef – precision is everything. The right balance of ingredients leads to a perfect dish, or in this case, a perfect epoxy mix.
Proportion Precision: Measuring for Perfect Epoxy Mixes
For a successful epoxy coating, mix the resin and hardener at the ratio recommended by the manufacturer. This is usually provided in parts, like 1:1 or 2:1. Use separate, clean containers to measure each component before combining them. This ensures that the chemical reaction necessary for the epoxy to cure will occur as intended.
Mixing Masterclass: Techniques to Avoid Air Bubbles and Inconsistencies
Once you’ve measured out your parts, it’s time to mix. Do this slowly and deliberately to avoid introducing air bubbles, which can create weak spots and an uneven finish. Stir the mixture for at least 3 minutes, scraping the sides and bottom of the container to ensure everything is blended thoroughly. For more details, read these tips and tricks for applying epoxy coatings.

Applying Epoxy like a Pro: Tips for a Flawless Finish
With your epoxy mixed, you’re ready to apply. This isn’t a race – take your time to apply the coating evenly. A rushed job will show in the final product.
Tool Talk: Choosing the Right Brushes and Rollers for Epoxy
Choosing the right tools can make a huge difference in your epoxy application. Brushes and rollers designed specifically for epoxy will give you the best results. These are usually made with synthetic materials that can handle the stickiness and weight of the epoxy without falling apart.
The Art of Application: Brush and Roller Techniques
When applying epoxy with a brush or roller, use long, even strokes to prevent lines and ridges. If you’re using a roller, roll in one direction then cross-roll in the opposite direction to ensure even coverage. Remember to overlap each pass slightly to avoid bare spots.
| Factor | Considerations |
|---|---|
| Surface Preparation | – Cleaning to remove contaminants like oils, grease, and dirt – Roughening the surface through abrasion or chemical etching |
| Surface Chemistry | – Metal surfaces: Pretreatment like phosphating for hydrogen bonding – Glass/silica surfaces: Silane coupling agents for covalent bonding – Plastics: Surface treatments like flame or UV exposure to increase surface energy |
| Coating Formulation | – Primers near critical pigment volume concentration (CPVC) for mechanical interlocking – Incorporating adhesion promoters like epoxy, amino, or silane functional groups |
| Application Technique | – Ensuring substrate is within recommended temperature range – Applying coating within recommended thickness range |
Maximising Adhesion with Epoxy Coatings
Post-Application: The Final Touches for Durability and Aesthetics
Once the epoxy is on, the waiting game begins. Curing times vary, so consult the manufacturer’s guidelines to know how long to wait before using the surface.
Curing Patience: Timing and Tactics for Epoxy Drying
Patience is vital during the curing process. Moving too fast can result in a surface that’s not fully hardened, which could lead to damage or the need for a complete do-over. Give it the full time to cure, and you’ll be rewarded with a strong, durable finish.
Sealing the Deal: Protecting Your Epoxy Coating from the Elements
After curing, some epoxy projects, especially those exposed to the elements, may benefit from a sealer. This extra layer provides additional protection against UV rays, chemicals, and abrasion. It’s an optional step, but it can extend the life of your epoxy coating significantly.

Common PITFALLS: Avoid These Epoxy Errors at All Costs
Even with careful preparation and application, mistakes can happen. Let’s look at some common errors and how to steer clear of them.
Simple Oversights that Can Ruin Your Epoxy Project
One common mistake is not accounting for temperature and humidity changes during the curing process. Another is applying epoxy too thickly, which can lead to an uneven cure and a less durable surface. Always follow the recommended thickness provided by the manufacturer.
How to Fix Mistakes Without Starting Over
If you do run into issues, all is not lost. Many epoxy mistakes can be sanded down once cured, and a new layer can be applied. This is, of course, more work, so it’s best to avoid errors in the first place by following the steps outlined here.
Now, let’s address some of the questions you might still have about working with epoxy coatings. These are the ones I get asked all the time, and the answers should clear up any lingering doubts you might have. For more detailed guidance, check out these tips and tricks for applying epoxy coatings.
FAQ: Your Top Epoxy Questions Answered
So, you’ve got questions? Great! Let’s dive into those frequently asked questions and give you some straightforward answers. If you’re looking for more in-depth tips, check out these tips and tricks for applying epoxy coatings.
Q: Is Epoxy Suitable for All Types of Surfaces?
A: Epoxy is incredibly versatile, but it’s not a one-size-fits-all solution. It adheres best to porous surfaces like concrete, wood, and metal. With the right preparation, it can also be used on less porous surfaces, but always check with the manufacturer or a professional if you’re unsure.
Most importantly, let’s talk about timing. After all, time is money, and you don’t want to waste either.
How Long Should I Wait Before Using the Surface Post-Epoxy Application?
Epoxy takes time to cure, and the exact time can vary based on the product and conditions. Generally, you should wait at least 24 hours before lightly using the surface and up to 72 hours for full use. But, always check the cure times specified by your epoxy product for the best results.
And because we’re all about doing things right, let’s consider whether you should tackle this as a DIY project or call in the cavalry.
Can I Apply Epoxy Coatings in a DIY Project, or Should I Call a Pro?
You can absolutely apply epoxy coatings yourself, provided you’ve done your homework. If you’re confident in your ability to prep the surface, mix the components correctly, and apply the coating evenly, go for it. But if you’re not 100% sure, there’s no shame in calling a professional. A botched job can be costly to fix.
Now, for the safety-conscious among us, let’s cover some important ground.
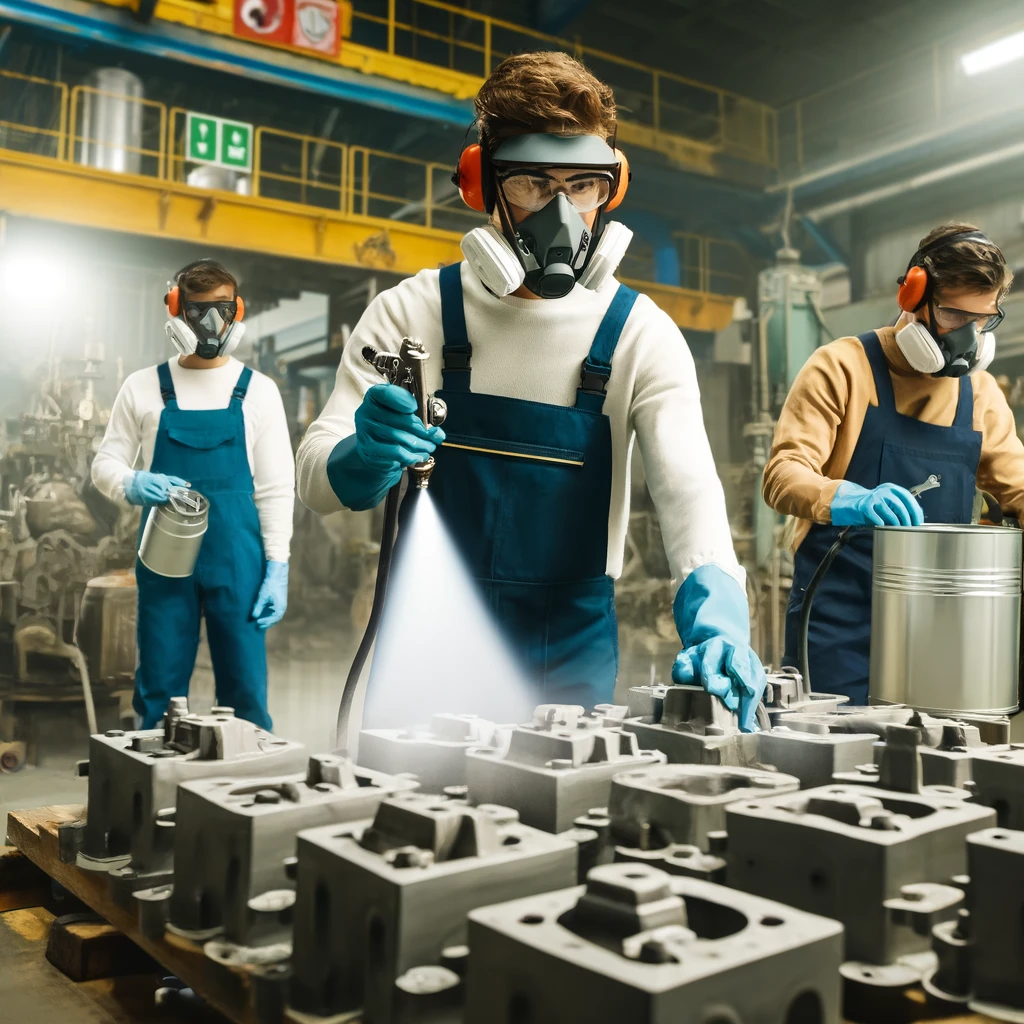
What Safety Precautions Should One Take When Working with Epoxy?
Working with epoxy isn’t like painting a fence. You need to take certain precautions:
- Always work in a well-ventilated area to avoid fume buildup.
- Wear gloves and protective eyewear to prevent skin and eye contact with the epoxy.
- Read all safety instructions on the epoxy packaging before beginning your project.
Because we’re invested in making sure your hard work stands the test of time, let’s talk maintenance.
How Do I Maintain Epoxy-Coated Surfaces for Longevity?
Maintaining your epoxy-coated surface is pretty straightforward: